One of the unintended benefits of having to stay home during this pandemic is an added appreciation for the commonplace beauty of our households, backyards, and parks. Being a senior in high school and eagerly anticipating college, I have always taken the comforts of my home for granted. It was through birdwatching during this pandemic – listening to the “tweedle-dees” of blue jays and “tink calls” of cardinals at my bird feeder – that I discovered just how special home could be. But for all the casual birdwatching I did last summer, my busy schedule left a lot unseen – like going to a buffet with a dessert plate. Holding up binoculars to get a shaky, close-up view of the birds didn’t make it any more appealing. So, like almost everything else this year, I decided to go virtual with my birdwatching!
I initially considered installing a webcam near the bird feeder, but I still faced the “24/7 observation issue,” meaning I would have to constantly watch the feeder in the hopes of spotting a new bird. Instead, I wanted to find a way to passively monitor the birds- perhaps before I went to bed at midnight and wanted to wind down. This was when I thought of repurposing internet-enabled security cameras to watch the feeder. These cameras can be configured to automatically record whenever they detect movement. I could now design a system that would observe and record snippets of bird activity while I wasn’t there. Gone were the days of asking, “What did I miss?” each time a family member told me about what they saw at the feeder- I could now view the same activity from a much closer point of view through the screen of my phone.
The following steps detail my setup of the bird camera. With some basic woodcutting skills and an off-the-shelf camera, you can complete this project in an afternoon.
DIY materials checklist:
1. A camera such as those from Blink or Wyze (Amazon).
I\’ve tested both, and I\’ve found the Wyze camera provides higher resolution video at a lower cost. However, the Blink is better at motion detection on the platform.
2. Wood for platform
a. Wooden pole
b. Plywood square
3. Plastic planter (Dollar Store).
4. If the camera is an indoor model, then weatherproof using a clear plastic storage container approx 4” x 3”x 2” and plexiglass (Lowes).
5. If the camera is not battery operated, then have a power extension cord ready.
Other requirements:
1. Wi-fi coverage at camera platform location.
2. Birdseed and birdfeeder.
Step #1: Build the observation platform
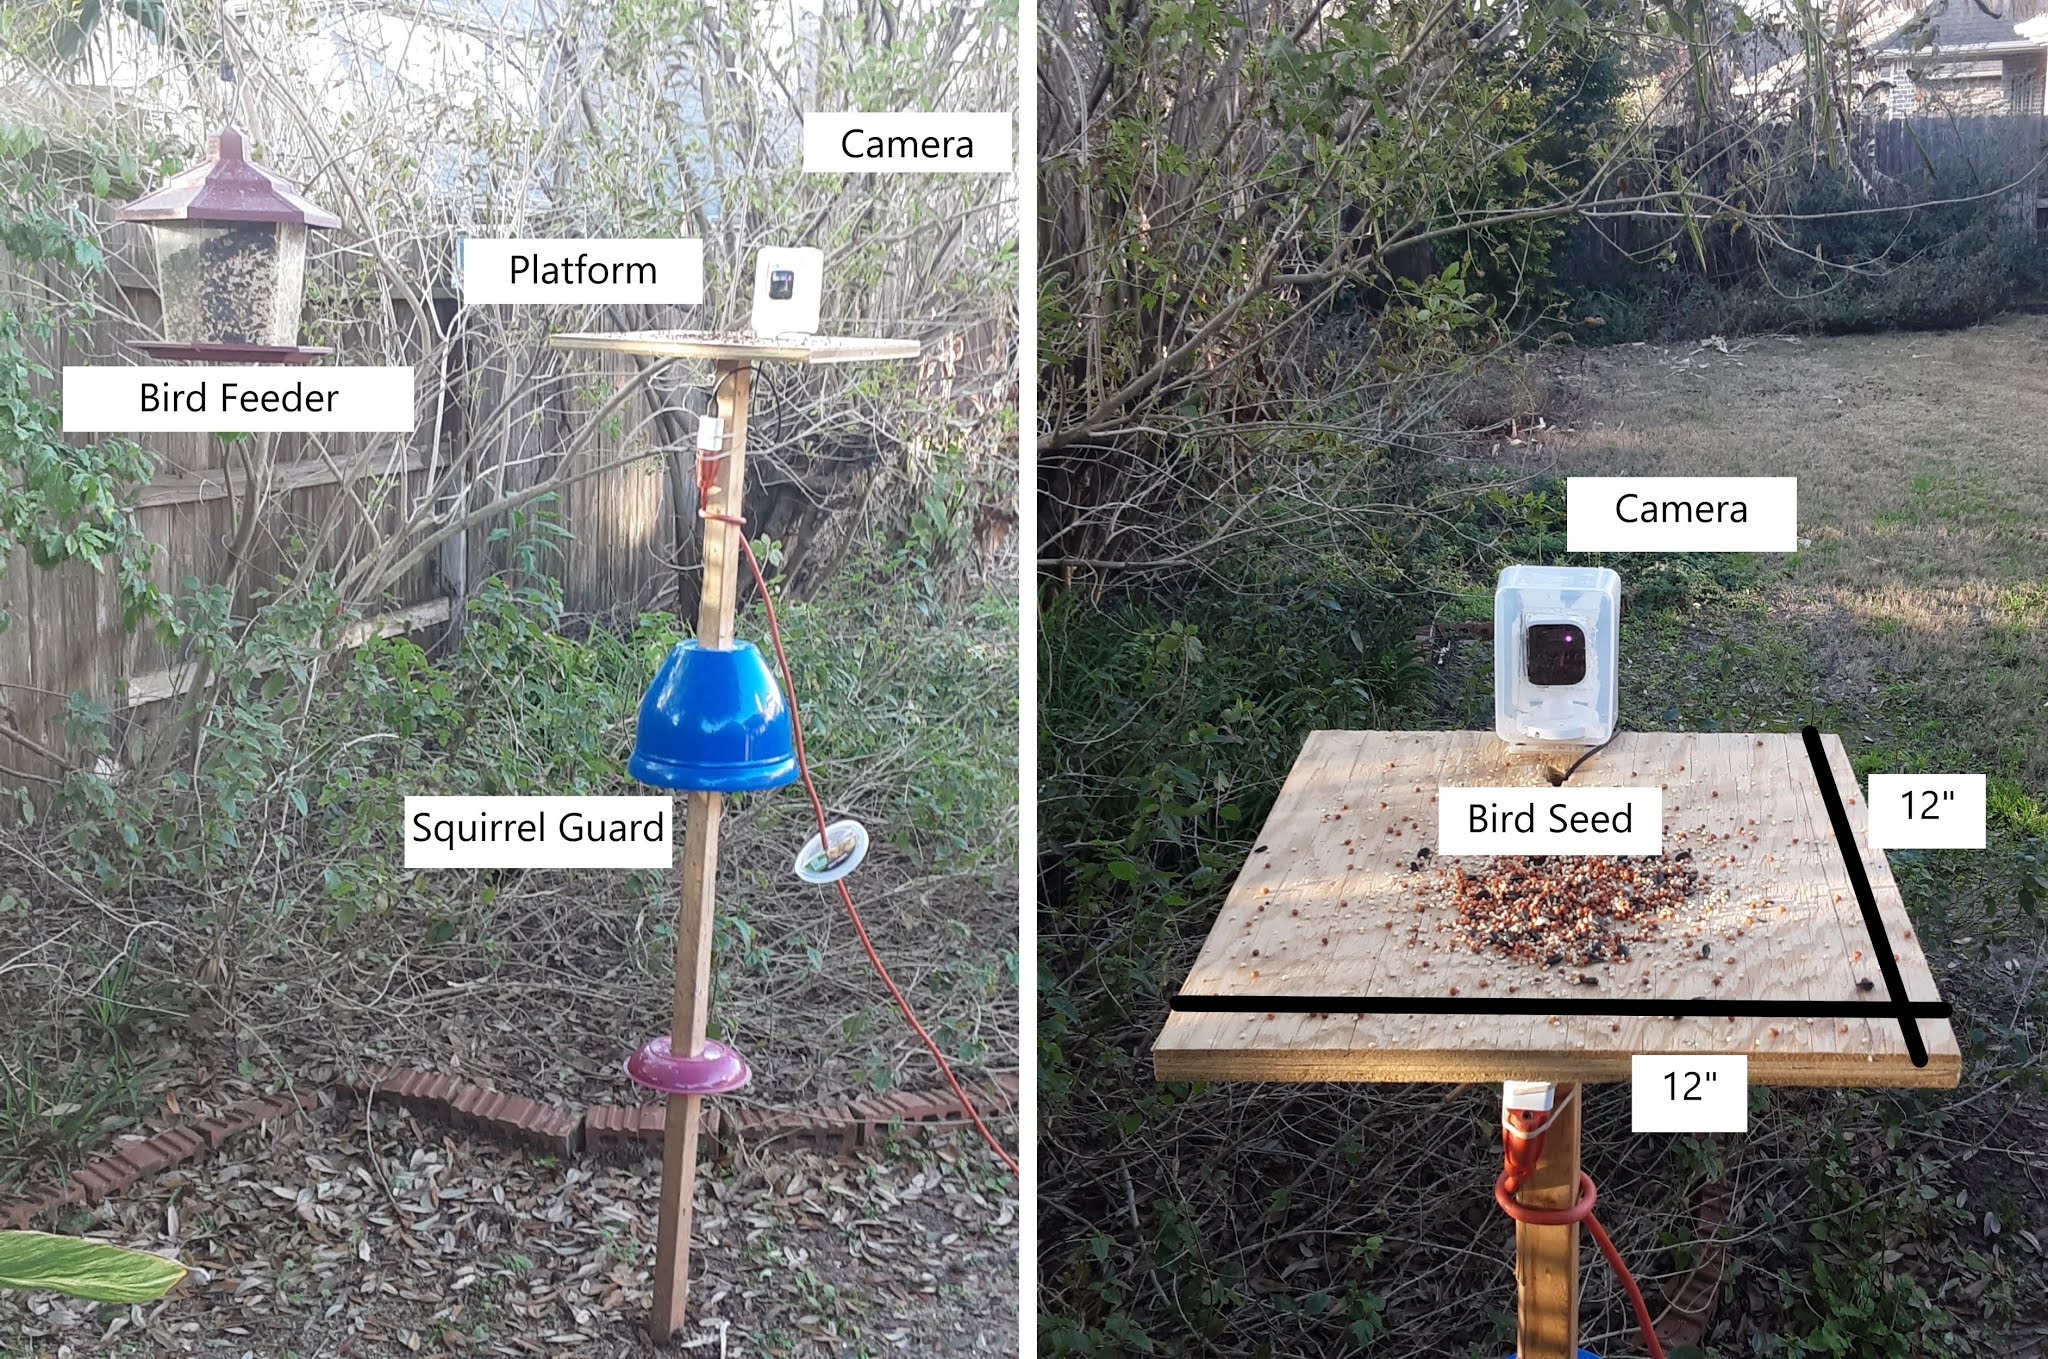
The observation platform is made of a 12” x 12” piece of plywood (1/2” to ¾”) strong enough to support around 0.5lb of camera and wiring. The platform’s dimensions aren’t too important so long as they are large enough for multiple birds to hang out and feed. The platform is fixed on a 2” x 2” wooden pole cut to roughly the same height as the bird feeder with an additional 24” length to drive it into the ground. I positioned the platform about 3-4 ft away from the bird feeder, though the distance certainly doesn’t make-or-break this project. Make sure the platform is level and firmly fixed to the ground. If squirrels feeding on bird seed are a problem where you live, you can affix a “squirrel guard” to the wooden pole to prevent them from climbing up to the platform. I used an old 12-inch plastic planter for this purpose, with a hole cut down the center to slide on to the pole.
Step #2: Install the camera

For the camera, I used a “Blink Mini indoor security camera” which I weatherproofed by enclosing it within a plastic container. I cut away the plastic in front of the camera lens and fixed a 2” x 2” piece of plexiglass using hot glue. Please make sure the box also has a small cutaway to pull out the USB cable from the camera. The enclosure (with the camera) should then be fixed using screws to one end of the platform.
One important thing to note: this setup requires a charging cord to power the camera. I used an extension cord connected to an exterior power outlet. Alternatively, Blink sells a weatherized outdoor camera that uses 2 AA batteries (and is advertised to power the camera for a whopping two years). The Blink outdoor camera is more expensive than the Blink Mini but doesn’t require weatherization and avoids the hassle of pulling cables to power the camera.
Both camera options will require wi-fi to operate. Please ensure your wi-fi router has enough range to reach the installation. You could also install a wi-fi extender on your patio to provide you the coverage.
Step #3: Downloading and optimizing the camera software
You’ll need to download the “Blink Home Monitor” app onto your phone or tablet to operate the camera. The app will then let you set up trigger frames (which specifies the camera area where movement can start the recording), the length of video recorded, and sensitivity.
Step #4: Start recording and saving videos
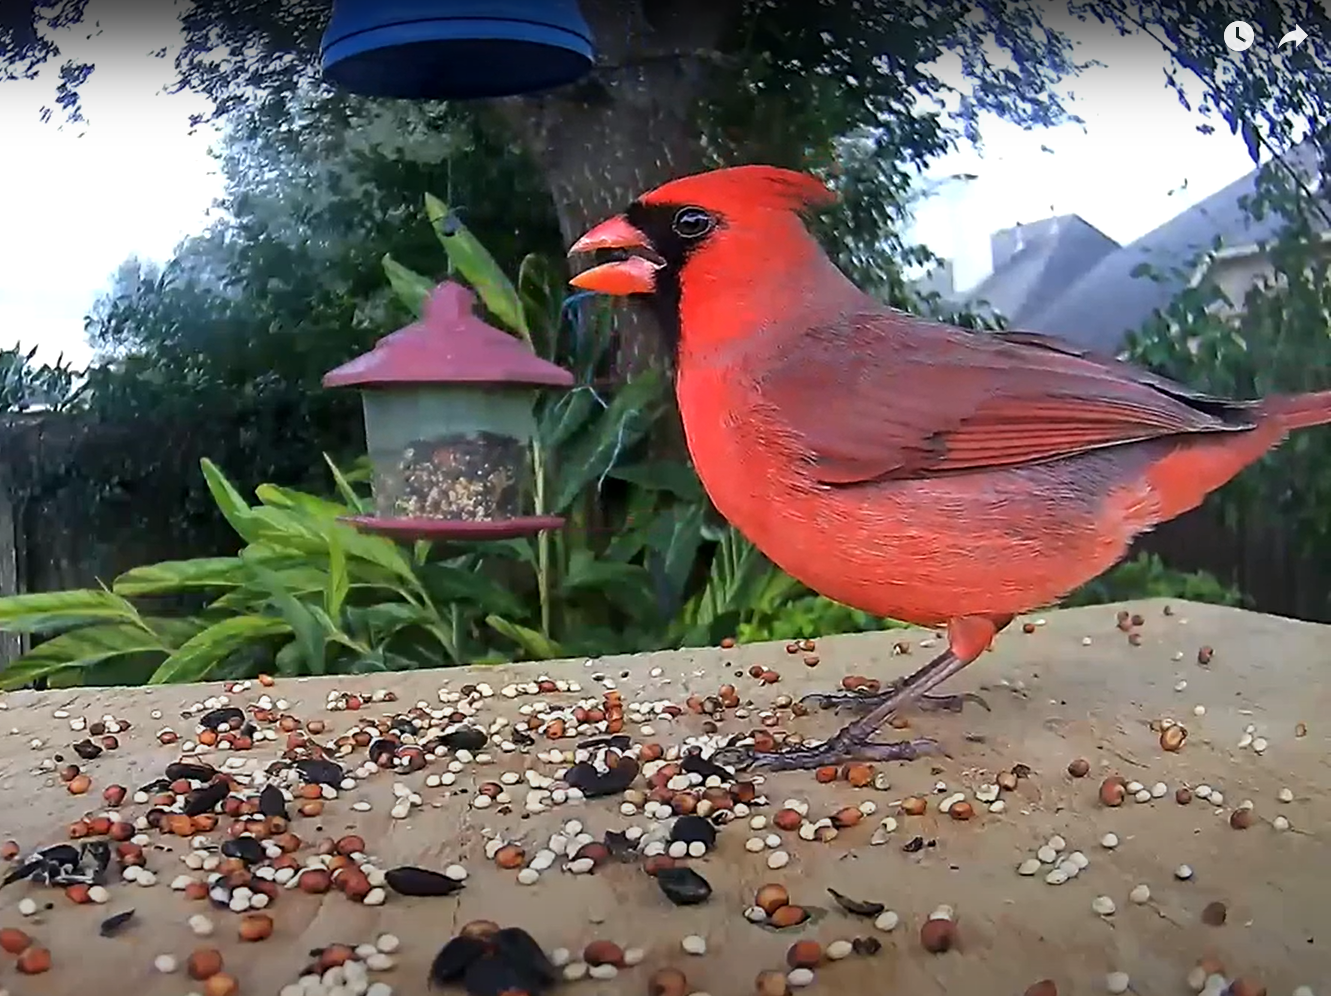
Now comes the fun part! Scatter some birdseed onto the platform and position the camera to record the skittish birds that land on the feeder. The great thing about the Blink Camera is that within the app, you also have the option of watching a live stream, meaning you can admire birds on the scene or watch saved recordings of them later.
Below are some of my favorite videos that I’ve recorded through my bird camera.
A bird party! (Cardinal, Finch, Wren)
By Abel John
Senior at Clements High School, Sugar Land, Texas
YouTube Channel: https://www.youtube.com/channel/UCnQ0S1Ugzz-E8z-nkQUh2gg
