Instructions By Schyler Brown, Conservation Science Project Manager
Want to attract a wider variety of birds to your yard? Just add running water! While a standard birdbath is a great start, a DIY bird drip water feature takes your backyard habitat to the next level. The moving water acts like a magnet for wildlife. The sight and sound of a steady drip will not only draw in your regular neighborhood birds, but it will also act as a beacon for tired migratory birds, letting them know your yard is the perfect place to drop in for a safe drink and a bath.
Ready to upgrade your outdoor space? Below, you’ll find step-by-step instructions on how to assemble this water feature in your own backyard using either a pre-made kit or simple supplies from your local hardware store!
Supplies
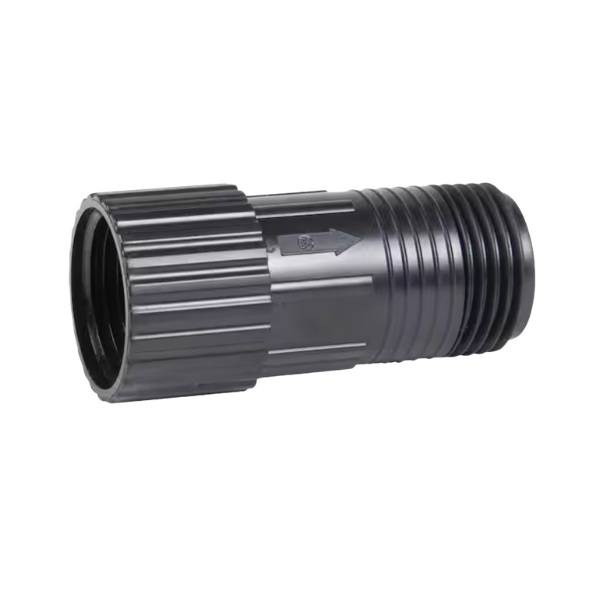
1. ¾” Backflow preventer ($4.97 Home Depot)
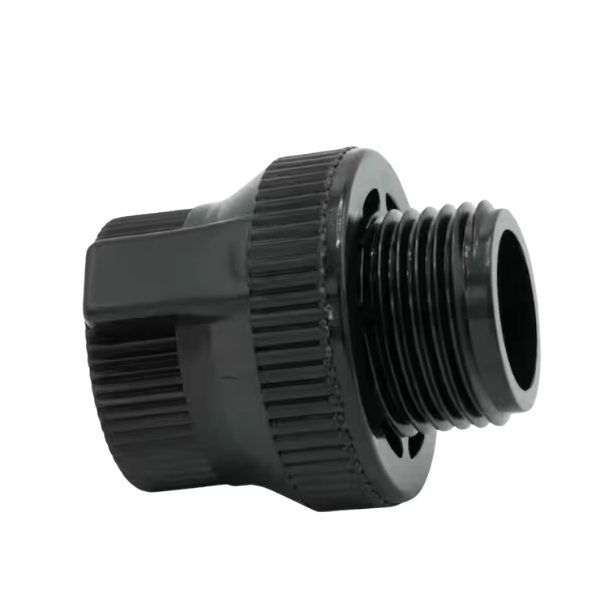
2. ¾” FHT Preset Pressure Regulator at 25 PSI ($6.97 Home Depot)
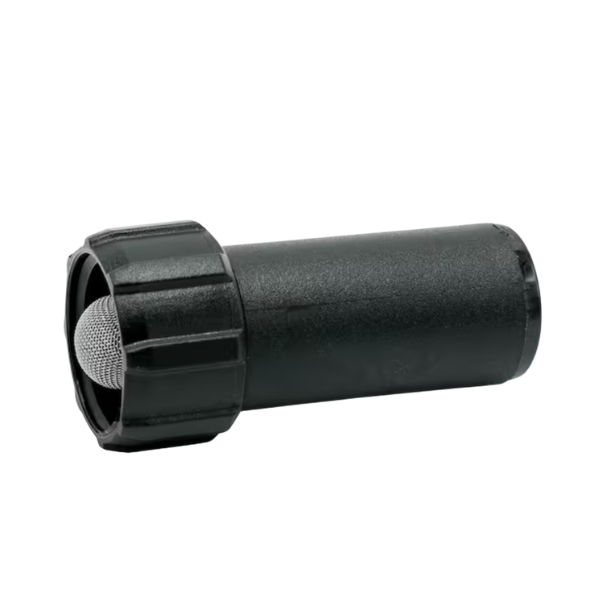
3. ¾” Swivel Adapter with Screen ($2.48 Home Depot)
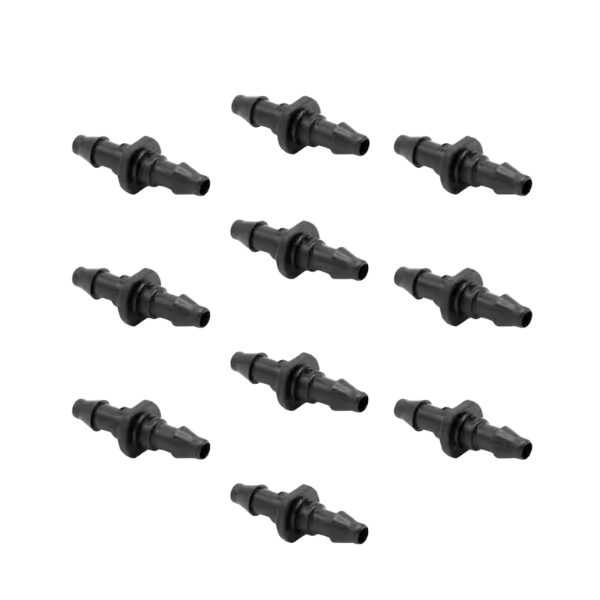
4. ¼” Drip Irrigation Barb Connectors ($2.47 Home Depot)
5. ¼” Irrigation Hole punch ($1.64 Home Depot)
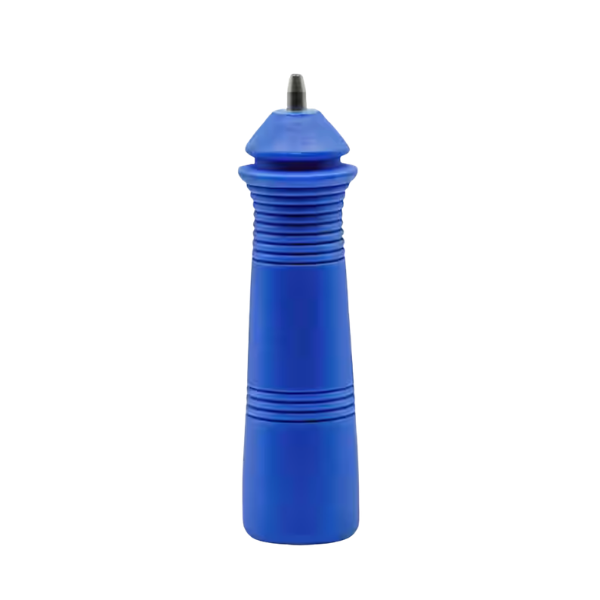
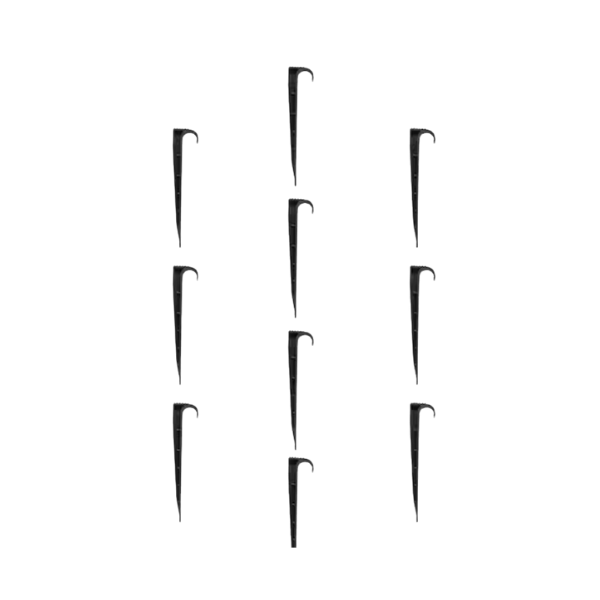
6. ½” Irrigation tube stakes ($4.97 Home Depot)
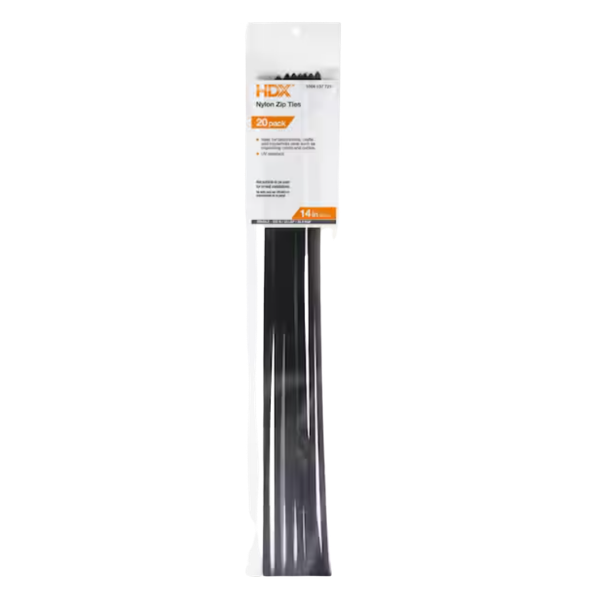
7. A few Zip ties, and some extra in case of mistakes.
8. Garden Shepherds hook, 18 to 46” depending on height of bird bath or reservoir.
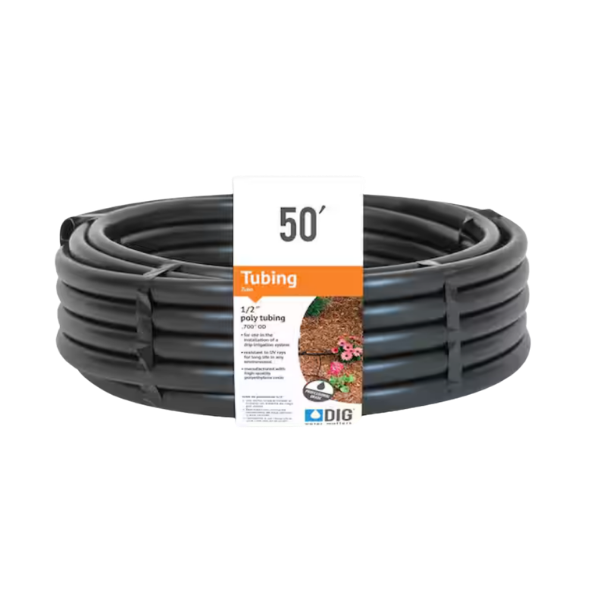
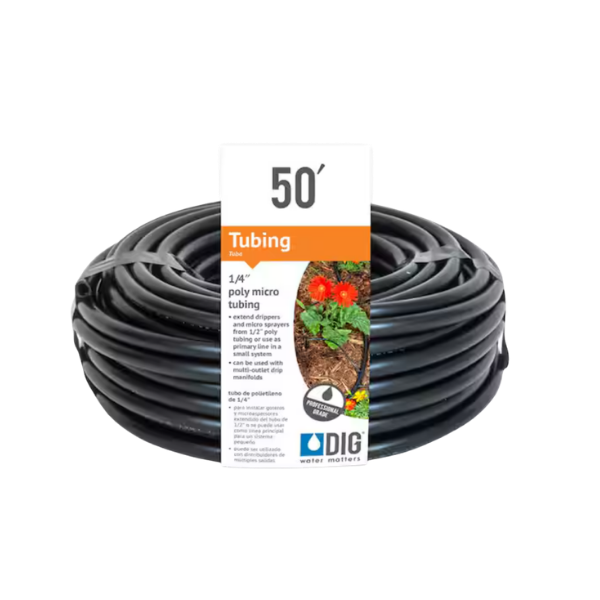
9. 50’ or more ½” Poly Drip Irrigation Tubing ($14.49 Home Depot IMPORTANT don’t buy tubing with pre-punched drip holes, you want solid tubing).
10. 50’ or more ¼” Poly Drip Irrigation Tubing ($5.98 Home Depot IMPORTANT don’t buy tubing with pre-punched drip holes, you want solid tubing).
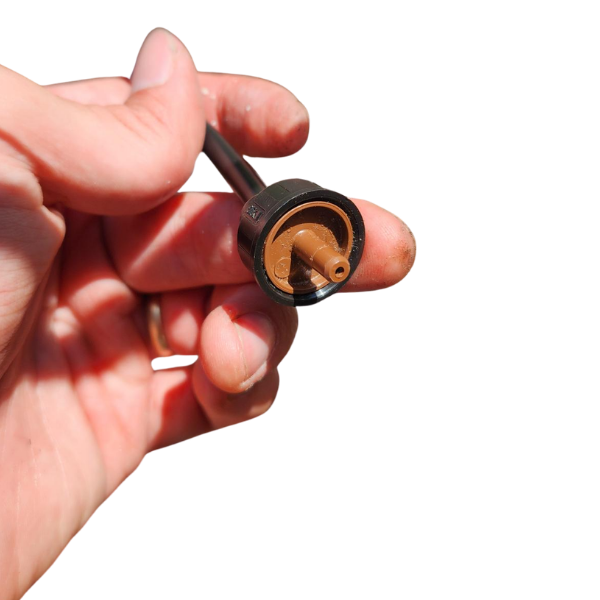
11. .05 Gallon per Hour (GPH) Dripper x1 (usually indicated by a brown color) ($1.62 Home Depot)
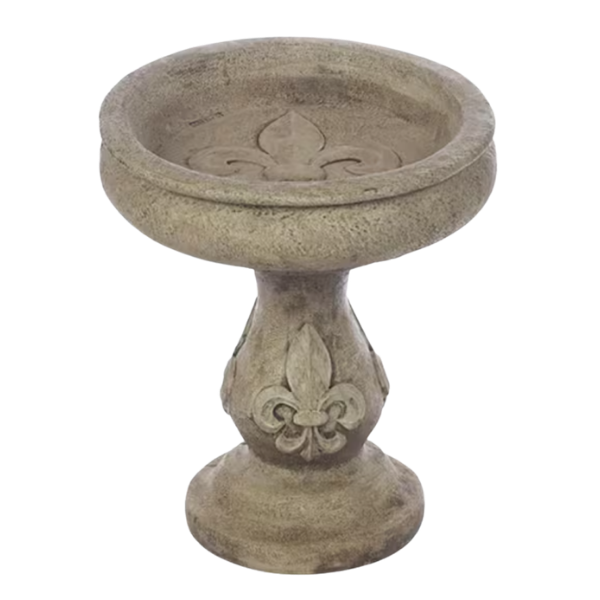
12. Bird bath or some sort of water basin/reservoir
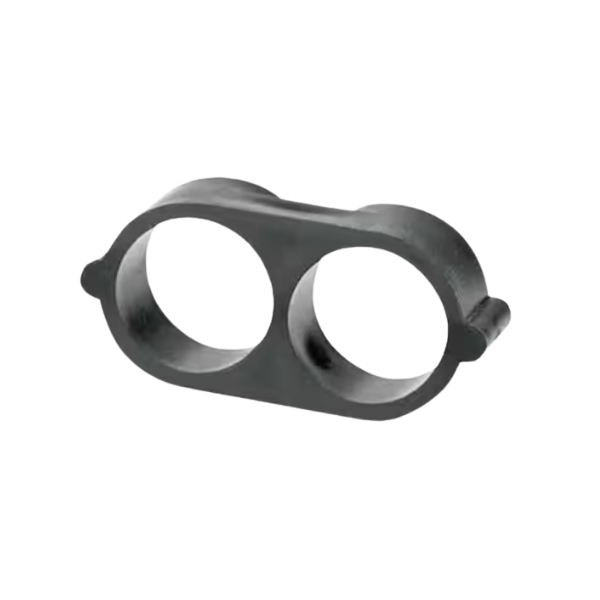
13. Hose end Figure 8 ($1.78 Home Depot)
Optional: Drip timing can be regulated using an Irrigation Timer ($30 – $100)
Optional: Kits can also be found at your local hardware store. Shepherds hook not included. DIG Drip Irrigation Watering Kit ($29.97 Home Depot – or similar irrigation kit)
Total Cost ~ $60.34
Instructions
Important! The first and most important step to any landscaping project is to call 811 and have your landscape marked for utilities. Avoid digging in areas where gas lines are present.
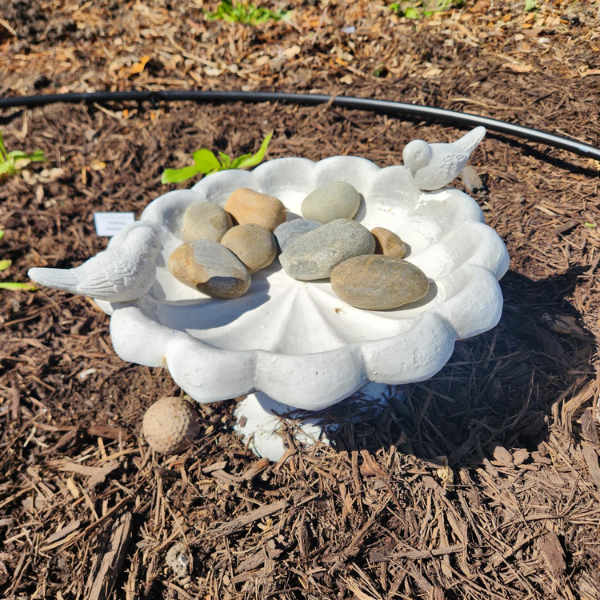
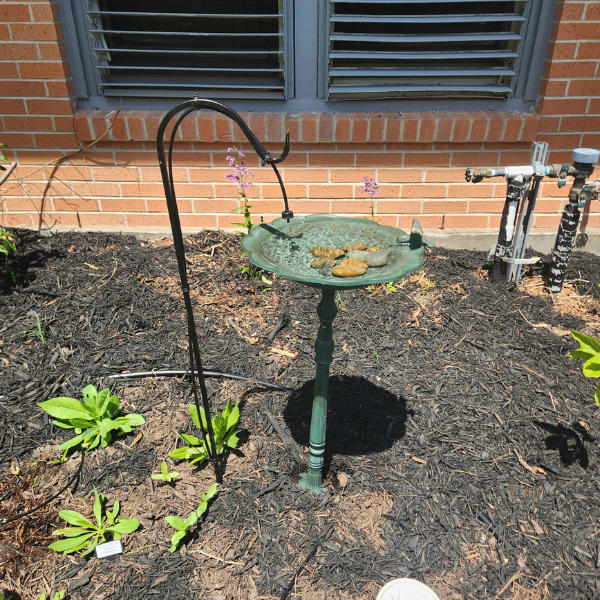
1. Determine drip location and place the bird bath¹² accordingly.
2. Unravel and place the ½” poly tubing⁹ in direct sunlight for 30 minutes. This will allow the plastic to relax, making the tubing easier to work with.
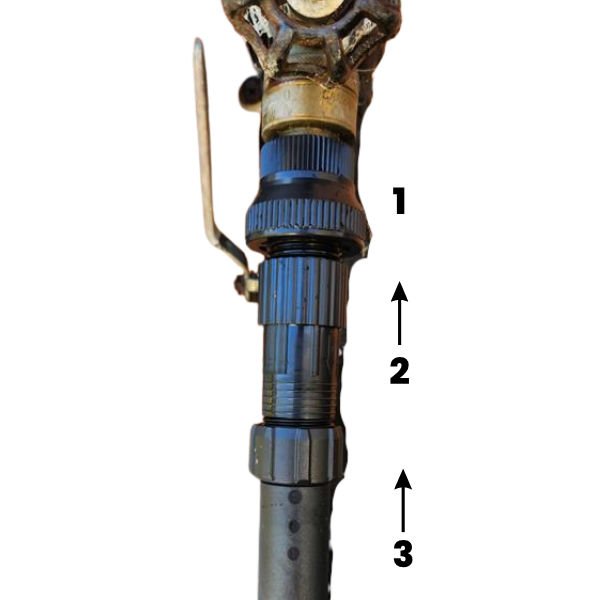
3. Meanwhile, on an outdoor spigot, attach the backflow preventer¹, followed by the compression swivel adapter² and pressure regulator³.
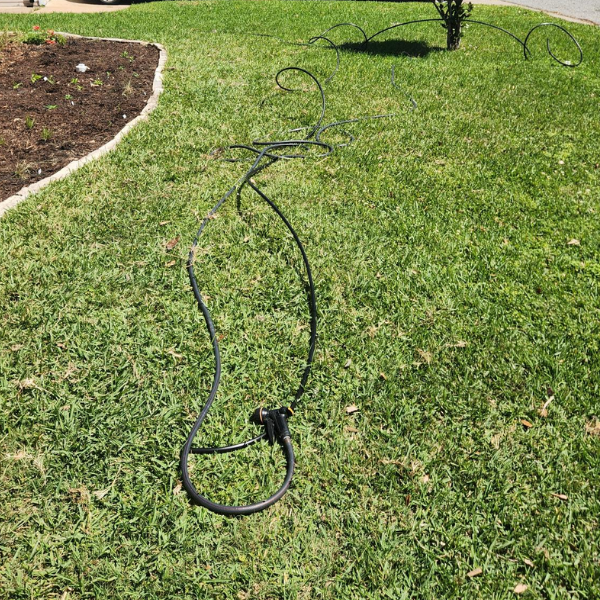
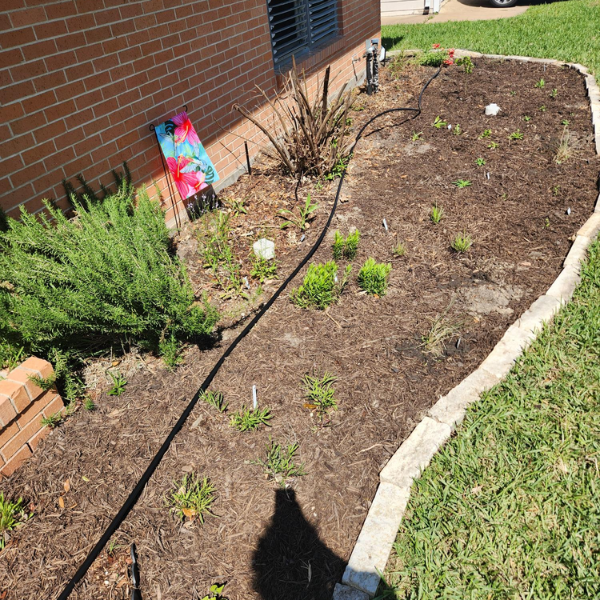
4. After 30 minutes, lay out the ½” poly tubing⁹ starting from the water source and ending just past the bird bath location. Create an “S” shape to allow for expansion and contraction of the tube in changing weather. Tip: If you have a native plant garden, this bird drip can double as a water source for your plants while they are adapting to new earth!
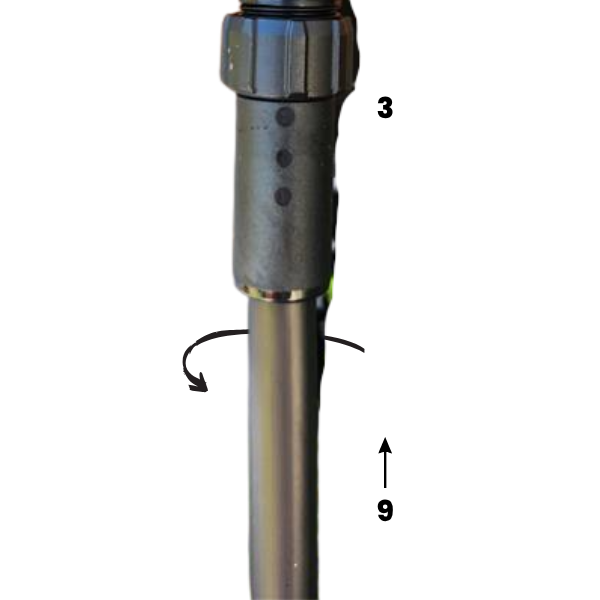
5. Insert the ½” poly tubing⁹ into the pressure regulator³ by turning counterclockwise until tight. Run the water for about 20 seconds to clear out any dust or debris in the poly tubing.
6. Insert the other end of the ½” poly tubing⁹ into one hole of the Hose End Figure 8¹³, bending the tubing and passing it through the other hole. Ensure a snug fit – this prevents water from escaping the tube.
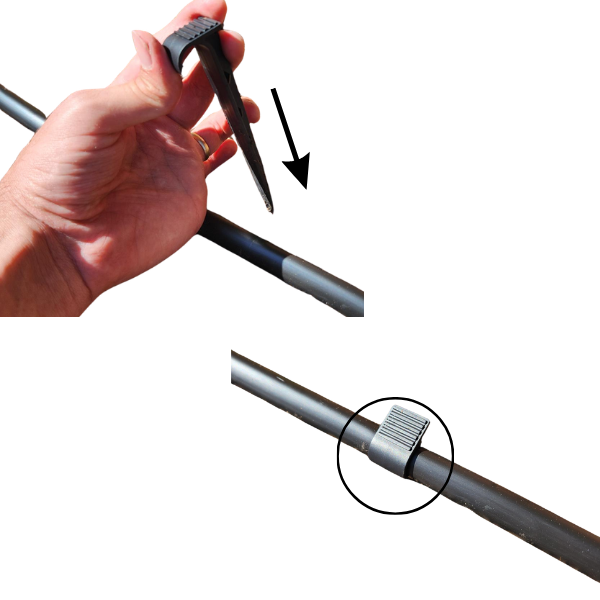
7. Using the 1/2” poly hose stakes⁶, secure the ½” poly tubing⁹ to the ground.
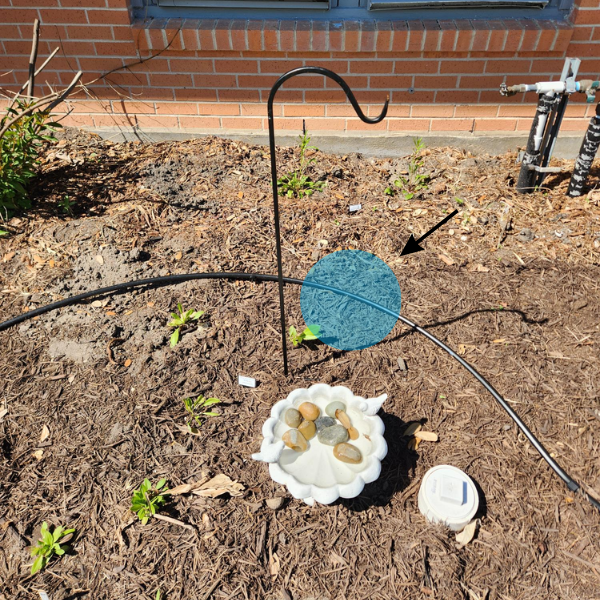
9. Insert the shepherds hook⁸ into the ground so that the hook end is directly over the bird bath. In the next step, you will punch a hole for the ¼” poly tubing¹⁰parallel to the hook location.
8. Punch a hole into the ½” poly tubing⁹ using the hole punch⁵. Insert one end of a barb connector⁴, pushing until you feel a “pop.” Take one end of the ¼” poly tubing¹⁰ and push it onto the other end of the barb connector⁴, gently twisting until snug.
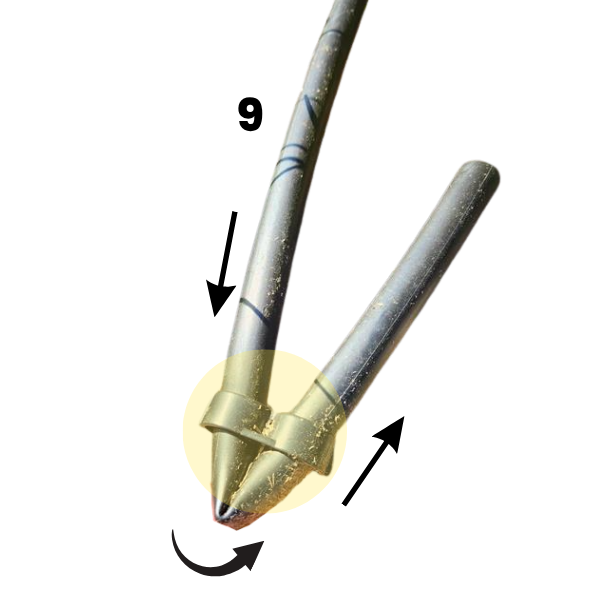
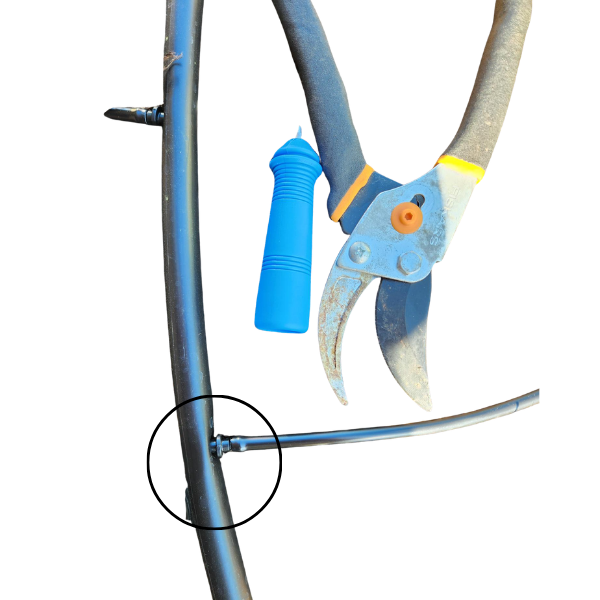
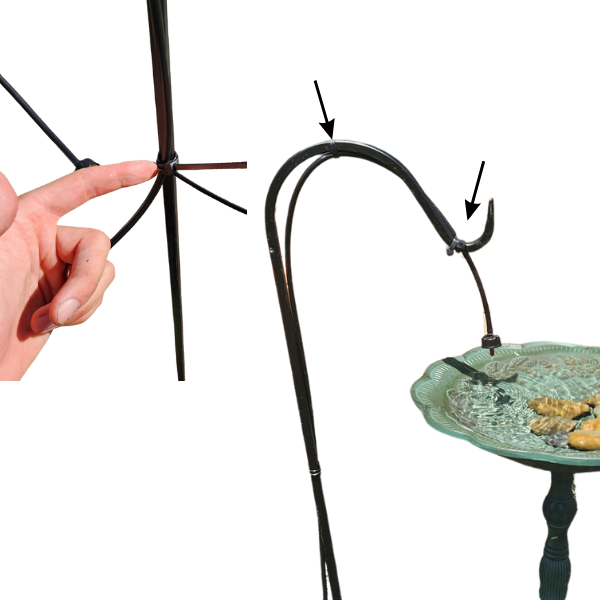
10. Run the connected ¼” poly tubing¹⁰ from step 8 along the ground and up the shepherds hook⁸ to estimate the amount needed. Be sure to run the tubing a few inches past the end of the hook, then cut with garden sheers or very sharp scissors. Run the water for 20 seconds. Then, insert the barbed end of the .05 GPH dripper¹¹ into the cut end of the ¼” poly tubing¹⁰.
11. Using zip-ties⁷, secure the ¼” poly tubing¹⁰ to the length of the shepherds hook⁸, with the dripper hanging off of the end of the hook. Cut of the excess from each zip-tie. Do not over tighten the zip-ties as it will restrict the water flow. Test the dripper and replace zip-ties as needed to ensure proper water flow.